We'll cover:
- Types of physiological data available with Movesense
- How to add a Movesense device to your project
- How to create a Movesense task
- Useful examples of Movesense tasks
- What a Movesense task looks like to participants
Movesense Data Types
Movesense's cutting-edge wearable sensors are capable of capturing ECG, heart rate, heart rate variability, and movement, making them suitable for nearly any sports and wellness use case – and for a bunch of innovative purposes beyond just sports!
Check out this article to learn all about Movesense data types→
Add Movesense Device to Project
In order to create a Movesense Task, you'll first need to add Movesense to your project.
Click + Add Device(s) in the Project Builder and select Movesense.
.png?width=688&height=446&name=Add%20Devices%20(1).png)
As soon as you've added Movesense as a device, you'll be prompted to create a Movesense Task. This is because the Movesense data will not be continuously captured in the background. Your participants will need to activate the data recording through a Movesense Task on the participant app.
Learn more about continuous background vs manually activated data collection→

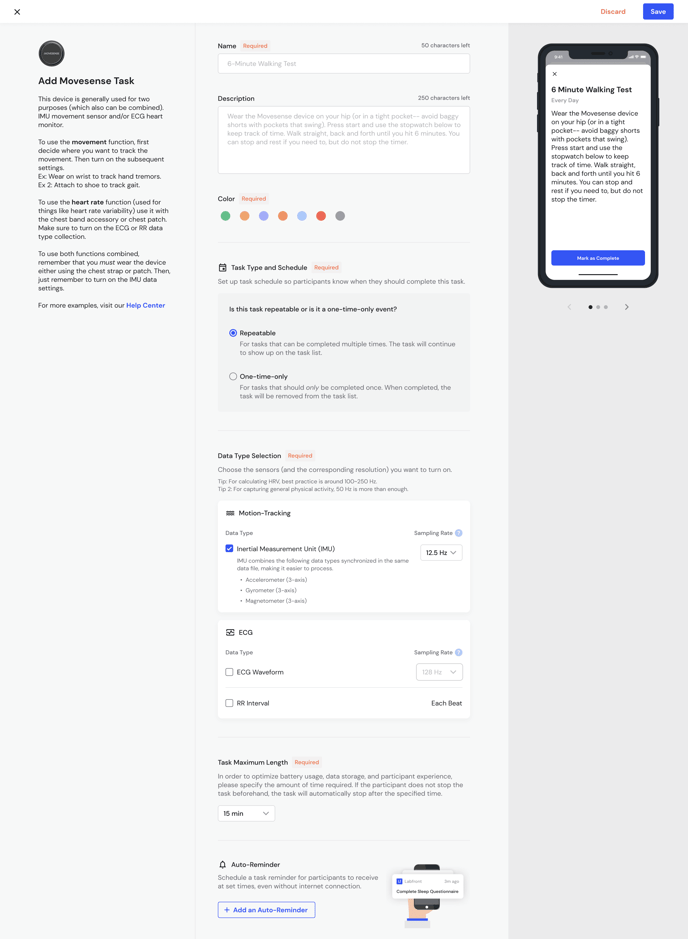
Setting up a Movesense Task
Setting up a Movesense task is similar to setting up other types of tasks in Labfront.
You will need to enter:
- Task Name - Choose an easy-to-understand name for this task
- Schedule - Should this task be completed one time only or is it repeated?
- Enter when the participant should complete the task (For example: Once every day, On the first day of the study, or No Specific Date)
- Task Description - Provide a brief description of the task letting participants know what they need to do. Especially for Movesense tasks, it's important to remind the participants how long they should be doing the task and where they should place the device. For example, to use the heart rate function, participants will need to use the device with the chest band accessory or chest patch.
- Color - Choose the color of the task to make it easier to distinguish between multiple task cards.
Data Type Selection
Next, you will choose what data you want to capture and the sampling rate.
The Movesense device is generally used for two purposes (which also can be combined): ECG heart monitor and/or IMU movement sensor. To use both functions, remember that participants must wear the device either using the chest strap or patch.
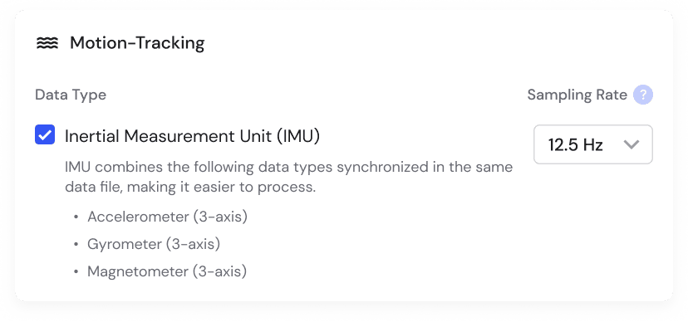
🏃 Motion Tracking
With Labfront and Movesense, measure any type of movement with high-resolution 9-axis motion tracking. Get 3-axis accelerometer data, 3-axis gyroscope data, and 3-axis magnetometer data all synchronized in the same data file, making it easier to process.
Customize your sampling rate, from 12.5 Hz to 208 Hz.
Note
For Free and Basic Plan users, available IMU sampling rates are 12.5Hz, 26Hz, and 52Hz. For access to higher rates (104Hz and 208Hz for IMU), please upgrade to our Labfront Advanced Plan.
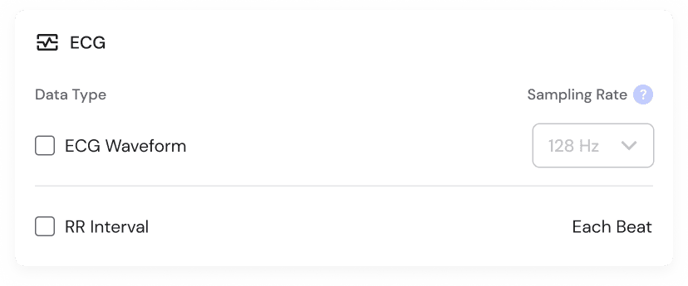
💗 ECG
To use the heart rate function (used for things like heart rate variability) the device will need to be used with the chest band accessory or chest patch.
RR Interval
Heart rate interval (also known as RRI/IBI/BBI) is the time between each individual heartbeat.
Sampling rate: Every beat
ECG Waveform
High-resolution electrocardiogram (ECG) data is the gold standard for heart rate monitoring, especially useful if you are measuring during exercise.
Sampling Rate: 125~500 Hz
Note
For Free and Basic Plan users, ECG sampling is available at 125Hz. For access to higher rates (250Hz and 500Hz), please upgrade to our Labfront Advanced Plan.
Warning 🚧
Choosing both 104~208Hz IMU + 500Hz ECG may exceed Bluetooth limits, risking data loss.
Tip 💡
52Hz IMU + 250Hz ECG meets most user needs. Require more frequent data? We suggest increasing just one parameter.
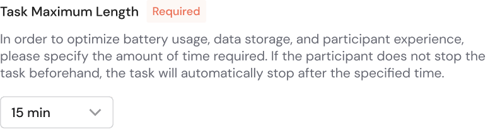
Set Maximum Task Length
Then, you will be required to set the maximum duration of the task to optimize battery life, data storage, and the participant's overall experience. This means you need to specify how long the task should last so that if the participant forgets to stop the task, it will automatically end after the specified time.
Note
For Free and Basic Plan users, the maximum task length that can be set is 15 minutes. For access to longer task lengths (up to 3 hours), please upgrade to our Labfront Advanced Plan.
Warning
The longer the task length, the longer it will take to upload the data. Participants will need to keep the app open until they see Upload Complete.
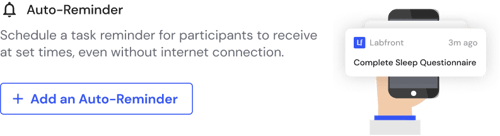
Auto-Reminder
You'll also be given the option to set an auto-reminder for the task to help participants remember to capture data. Learn more about auto-reminders in this article.
When you're finished completing the task information, click Save.
Useful Examples of Movesense Tasks
With Movesense devices, you can track everything from walking cadence and gait to hand tremors from Parkinson's.
Take a look at some Movesense examples→
Participant Experience
Labfront makes it easy for participants to connect a Movesense device and record data.
As soon as you have published your project with your created Movesense Tasks and participants have linked the device to your project on the Labfront Companion app, they will see the tasks.
To activate data recording, they simply need to read your instructions, make sure they are wearing the device properly and click Start Recording.

View our article on completing a task on the participant app for more information→
📖 Recommended Reading
- View Movesense devices compatible with Labfront
- Get inspired by published studies using Movesense devices
- Understand how Movesense data is organized in Labfront