1. Sign in to your workspace
Once you've successfully created a Labfront account, sign in to be taken to your Workspace. A workspace is where you can add collaborators and create projects.
.png?width=688&height=443&name=project_list%20(1).png)
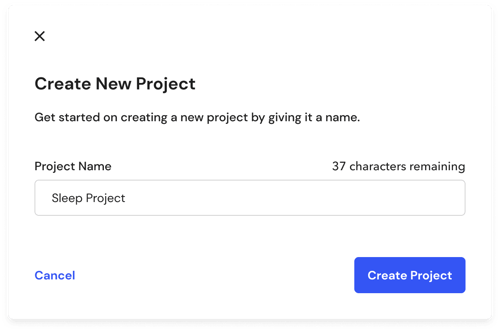
2. Create a project


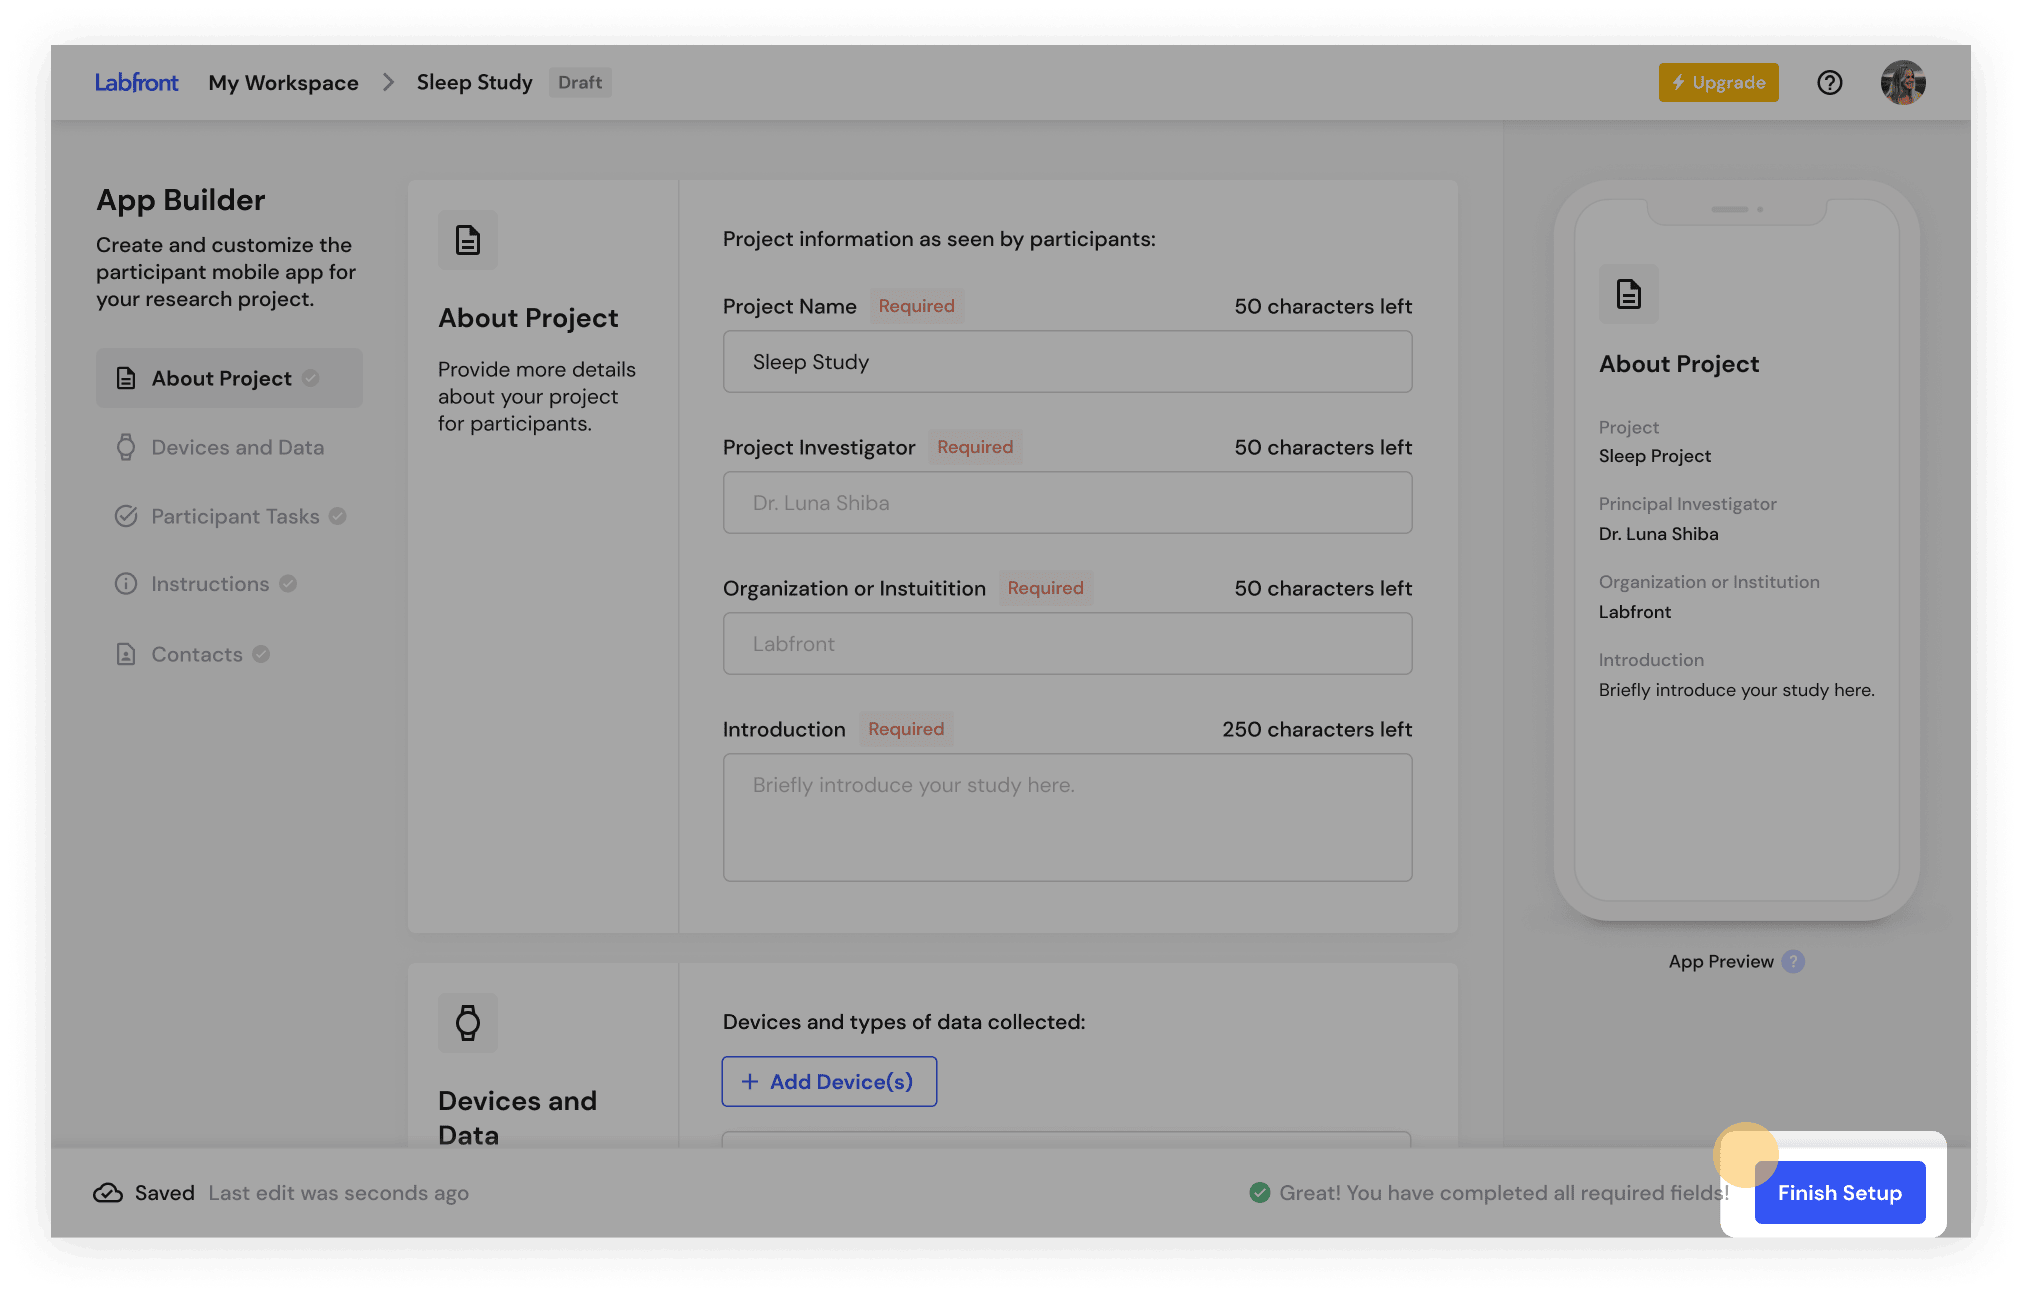
3. Build Your App
Labfront has an Autosave feature, so your work is saved automatically.
3.1 Enter Project Details
- Brief yet informative Project Name
- Principal Investigator of the project
- Organization/ Institution affiliated with the study
- Study Introduction
- The goal of the Introduction is to explain what you're trying to accomplish with the research and what might be required from participants.

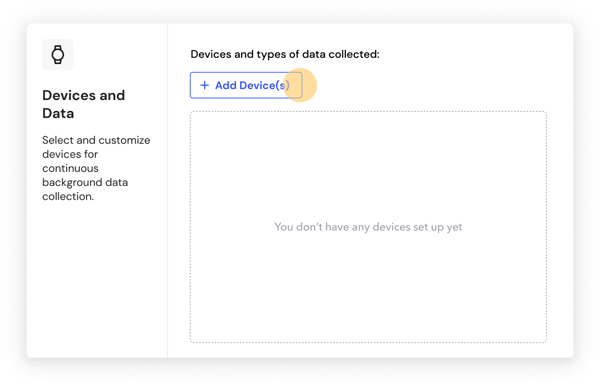
3.2 Choose Device
Add Device
.png?width=590&height=429&name=Add%20Devices%20(3).png)
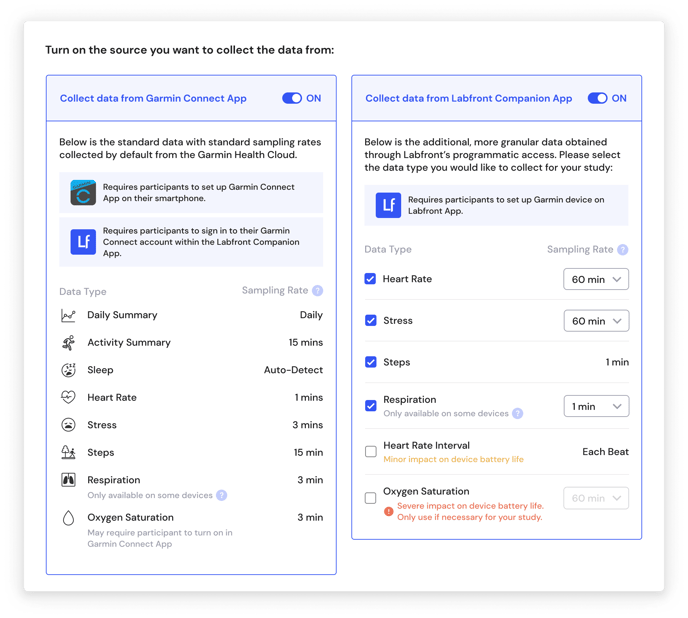
Add Garmin Device
Add Movesense Device
If adding a Movesense device for ECG/IMU data, you'll next have to create a Movesense Task. This includes choosing the sensors you want to turn on and the corresponding sampling rate.
Creating a task is required as this is how participants activate the data recording on the app.
.png?width=600&height=662&name=Movesense%20(5).png)
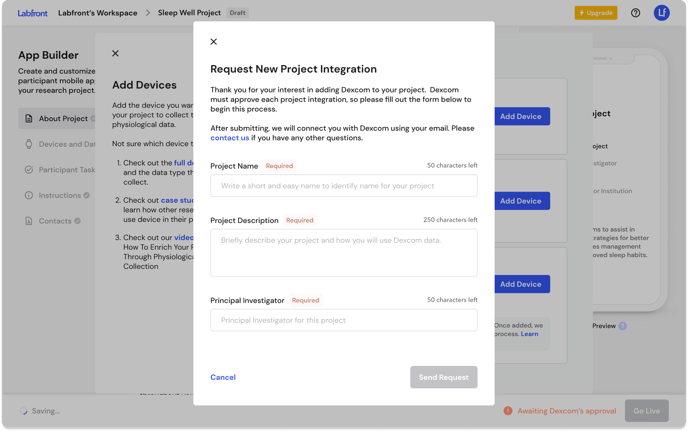
Add a Dexcom Device
If adding a Dexcom device, you'll first need to request Dexcom's approval. Learn more here.
3.3 Set Up Participant Tasks
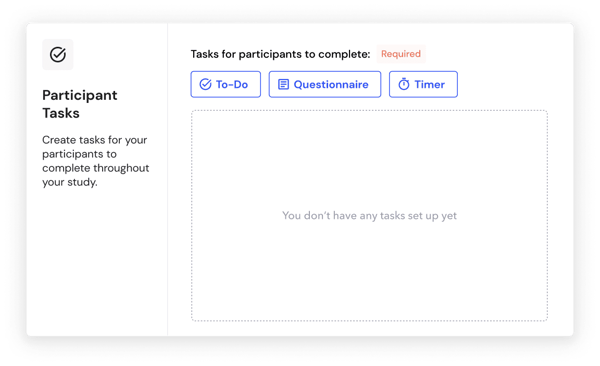
Note: If you've added a Movesense device, you will also see the option of creating a Movesense task here.
To-Do
For each type of task, you will need to provide the following information:
- Task Name - Choose an easy-to-understand name for this task
- Schedule - Should this task be completed one time only or is it repeated?
- Enter when the participant should complete the task (For example: Once every day, On the first day of the study, or No Specific Date)
- Task Description - Provide a brief description of the task letting participants know what they need to do
Movesense
Movesense data will not be continuously captured in the background. You will need to create a Movesense Task in order for your participants to activate the data recording through the participant app.
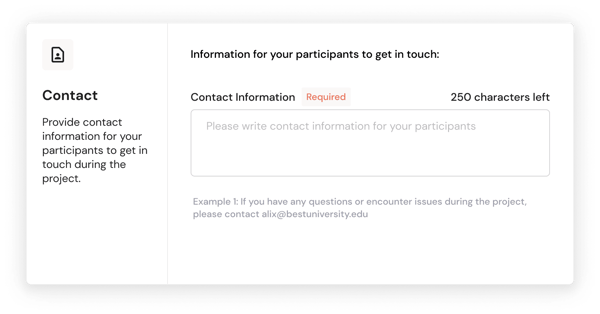
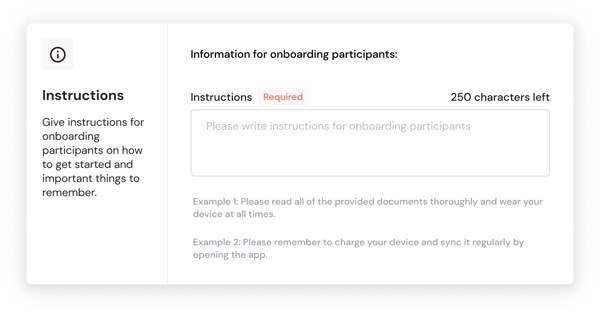
3.4 Add Instructions and Contact Info
Finally, you'll need to add brief participant instructions and contact information for them to get in touch during the project.
4. Finish Setup and Publish Your App
💡Add Collaborators
You can add research collaborators to your entire workspace or specific projects. Learn more→
🔎 Looking for more information?
We recommend checking out these articles: